Timeless Wall Molding Design – Tips & Tricks
February 20, 2023
It All Started When…
A few years ago we embarked on our first attempt at an accent wall. We put a board and batten design in our bedroom, and we loved it! It was the start of a never ending cycle of home projects, from wall molding, to built-ins, to cabinets and butcher-block counter top!

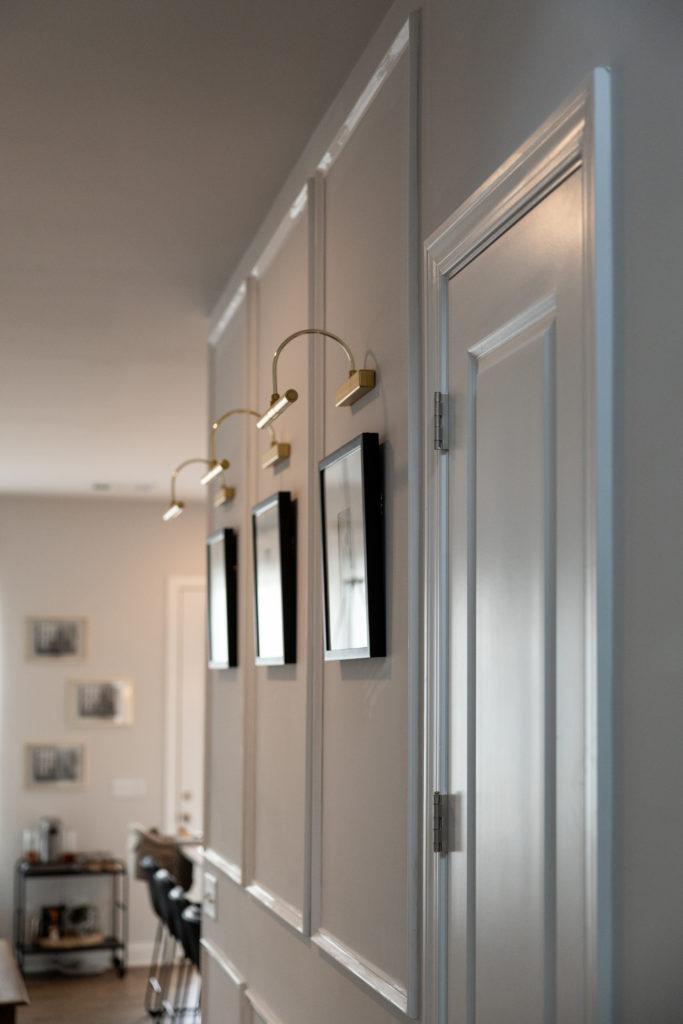
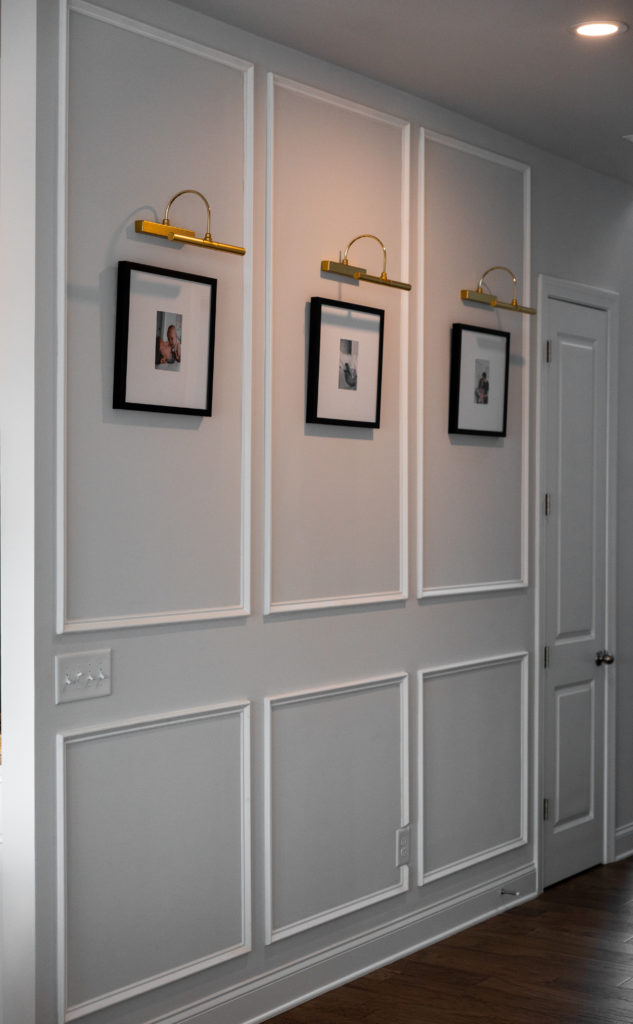
In those years of ongoing projects, we’ve done wall molding over 5 times. Theres a specific design called picture frame molding that we are partial to. It’s timeless, and helps add character without distracting from the rest of the room. You can also choose from any number of layouts that suit the look you want to achieve.
Through much trial and error, we have learned a few things that make these projects easier. Below you will find some of our best tips for successfully completing a molding project. We also have a detailed step-by-step blog from our first molding project here. You can check that out for more info on tools, supplies, and process, as this blog is going to focus specifically on this picture frame design.
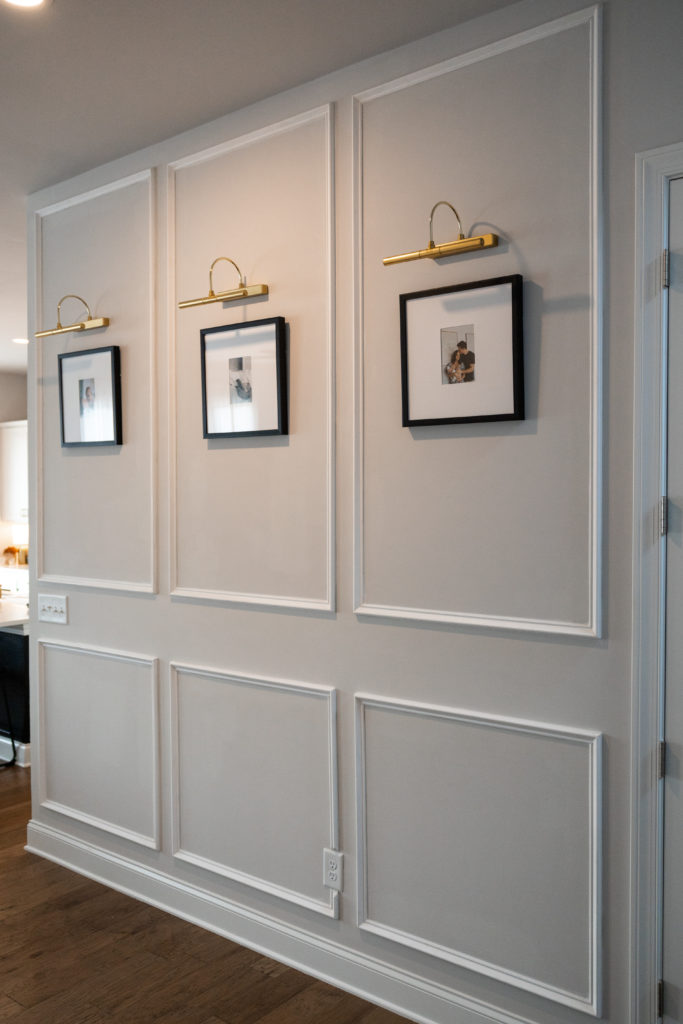
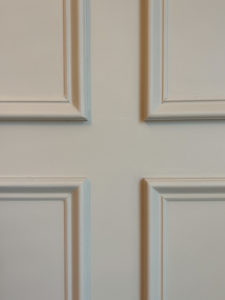
Use a miter saw for cutting your angles – The first time I did this project, I used a hand saw and angle cutting jig to cut the 45° angles for the boards. As you can imagine, this left unsightly gaps that required significant patch work to hide. It saves time and energy to get the perfect 45° cut so your boards fit nice and snug. Miter saws that can cut at an angle will be your best friend for this type of project!
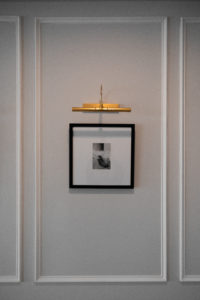
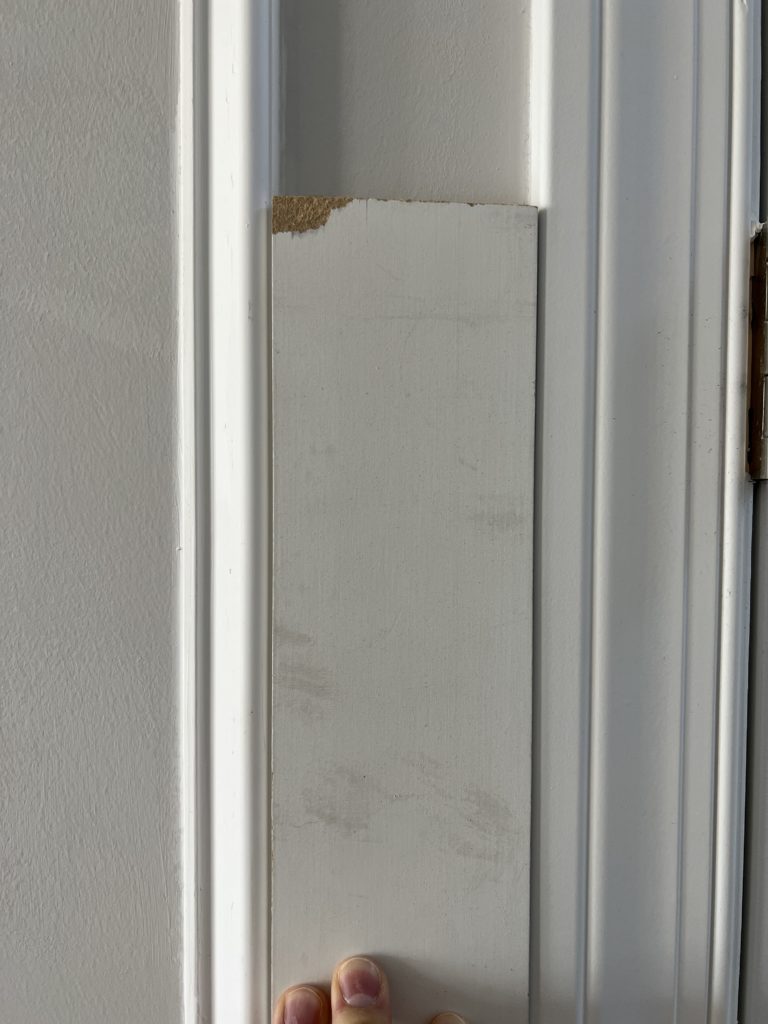
Use a 90 degree positioning square and level – These tools will help you set the trim accurately so you don’t have a board that’s 3″ from the edge of the wall on one end, and 2″ on the other. Another trick we recommend is using a straight board to align each individual trim box, and ensure they are all the same distance from each other. You can see in the image below, we used a simple 3.5 inch board from an old project to space ours.
Caulk your edges between the wall and the molding – This is easily the most important step when it comes to the look of the finished project. Adding caulk will smooth the transition between the trim and wall, helping make the wall look less “first time DIY” and more “professional custom contractor”.
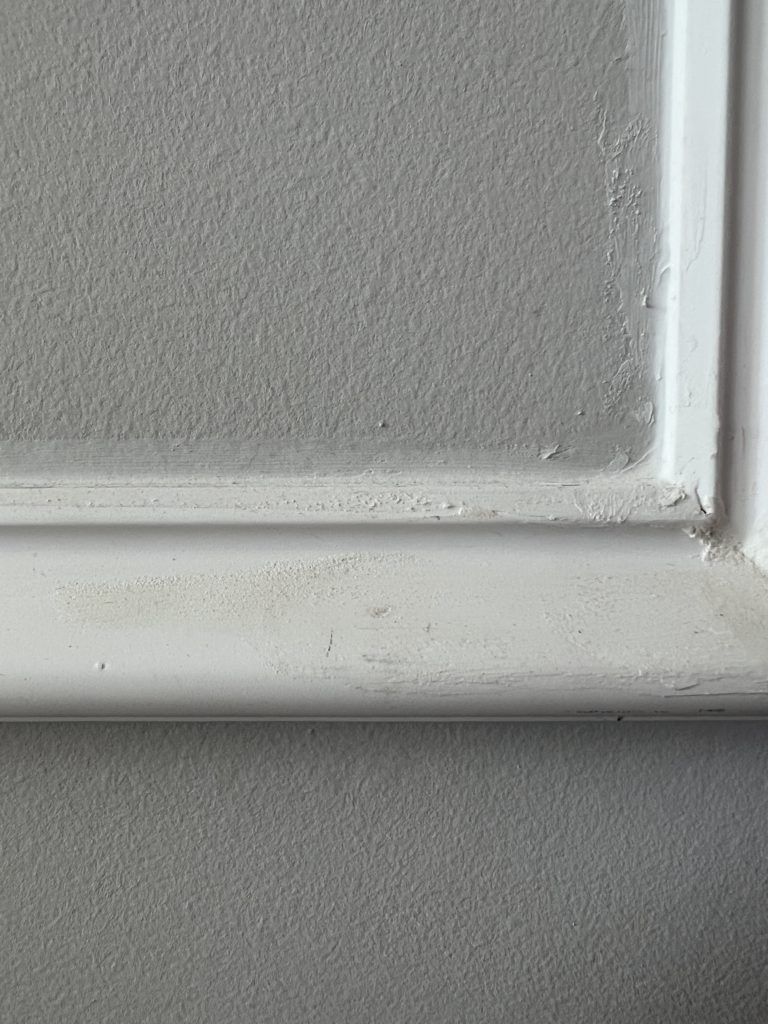
Patch your nail holes and gaps between molding corners with spackling, not caulk – we made a rookie mistake the first time we did this project, and used caulk to cover some of our nail holes. We found out the hard way that caulk is not as easily sanded as spackling. ONLY use caulk to fill the gap between the wall and the trim; use spackling for everything else.
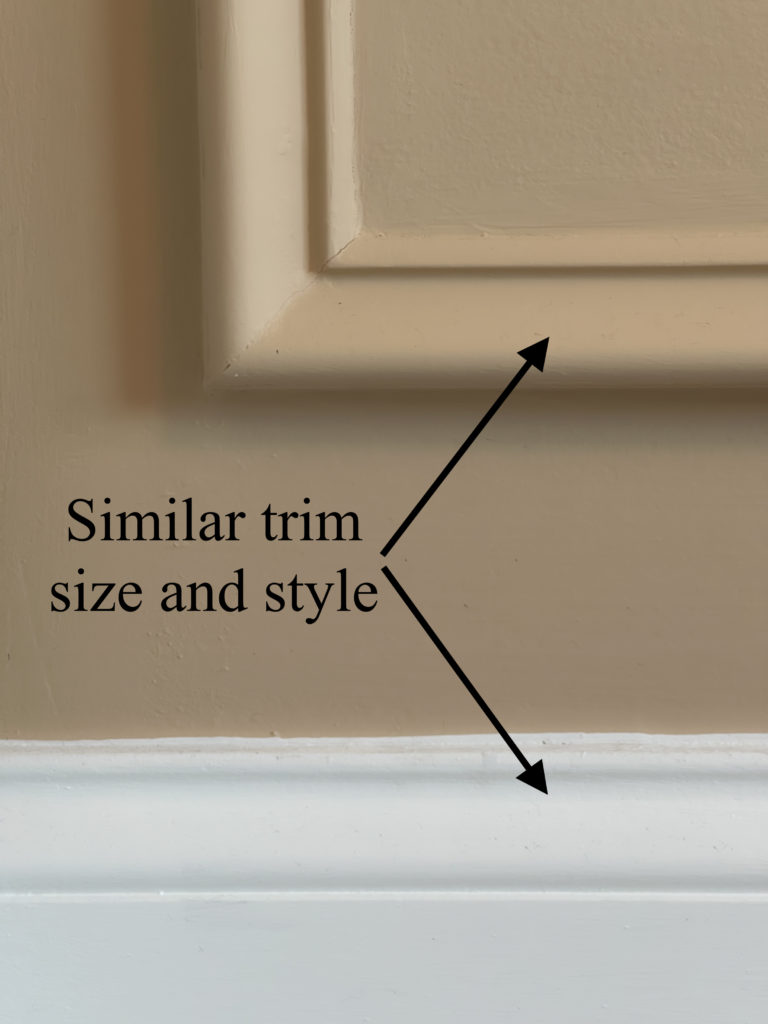
Try matching your project trim to the base trim – Our trim throughout the entire house has a top section that we really liked, so we found similar trim at Home Depot to match. It makes the wall appear like it was part of the initial home design, and gives it an understated look.
Don’t skip or rush the sanding process – as with the caulking step, this will impact the finished look significantly. Even with a couple coats of paint, you will be able to see imperfections from a bad sanding job. It’s hard for me to show the image below, but I’m doing it in the hopes that you can avoid my mistakes when you take on the project!
Following these tips should help you create and amazing accent wall with your trim / molding design! Hopefully you found something useful here that you can apply as you start your next project. Please leave a comment down below if you have any questions or other ideas we may have missed!
PLEASE COMMENT BELOW