DIY Built-in Pantry Shelves
February 13, 2023
We all know the look of those builder grade wire shelves that come in every closet, pantry, and storage room in our house. At best they are unsightly, at worst they are unusable. For us, it was the latter.
We always wanted to replace the shelves with something more substantial, but we prioritized other projects in our house based on necessity (bedrooms, offices, etc.). The real catalyst for starting this project was waking up to cans of beans and large bottles of oil on the floor! one of the plastic j-hooks on the shelf broke under the weight of our food, and caused the whole section to collapse. Fortunately, nothing spilled or made a mess, but it kick started the project and we knocked it out over a long weekend!
So, let’s jump into the details and I’ll give you the full run-down of this project from start to finish!
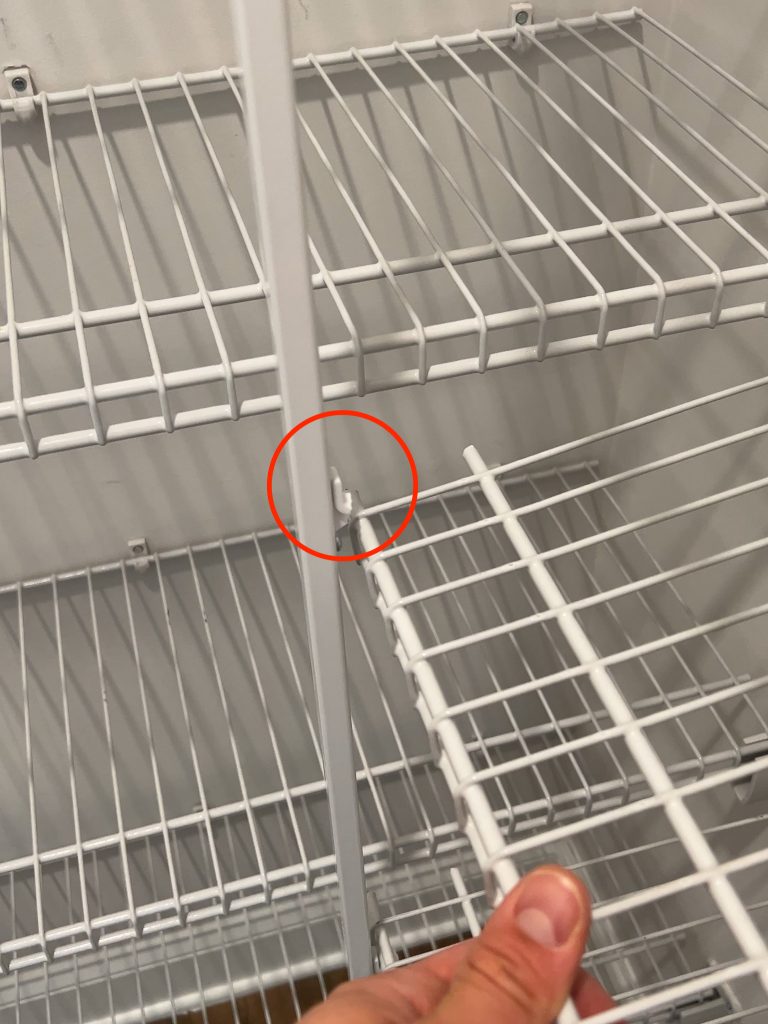
Demolition!
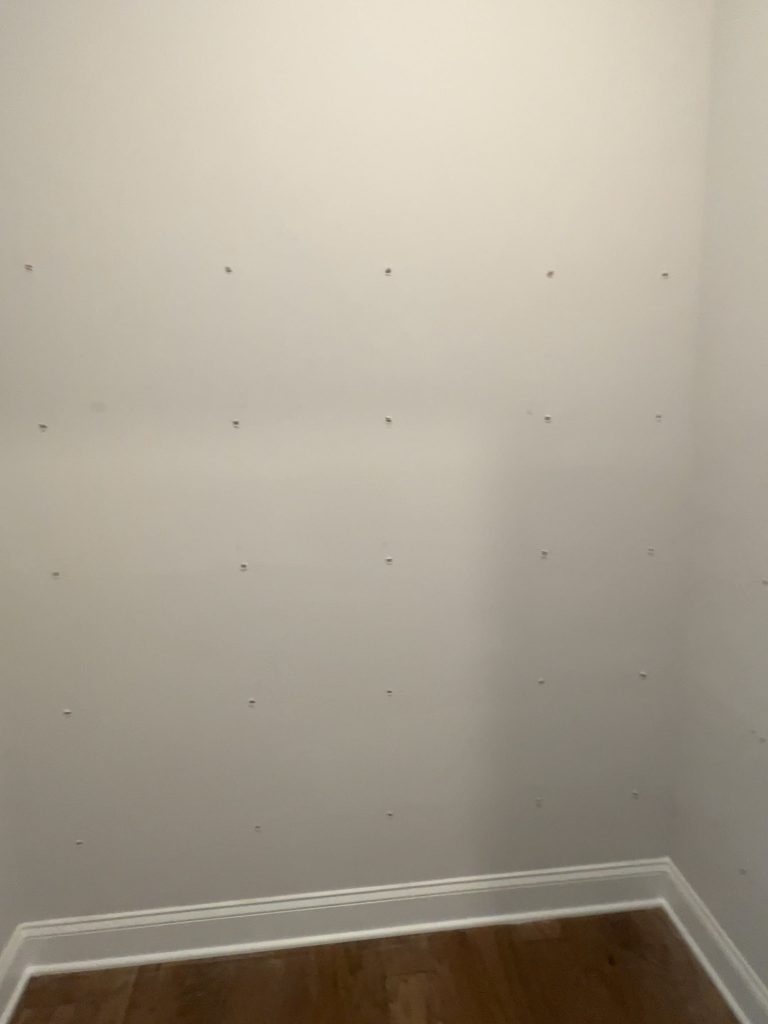
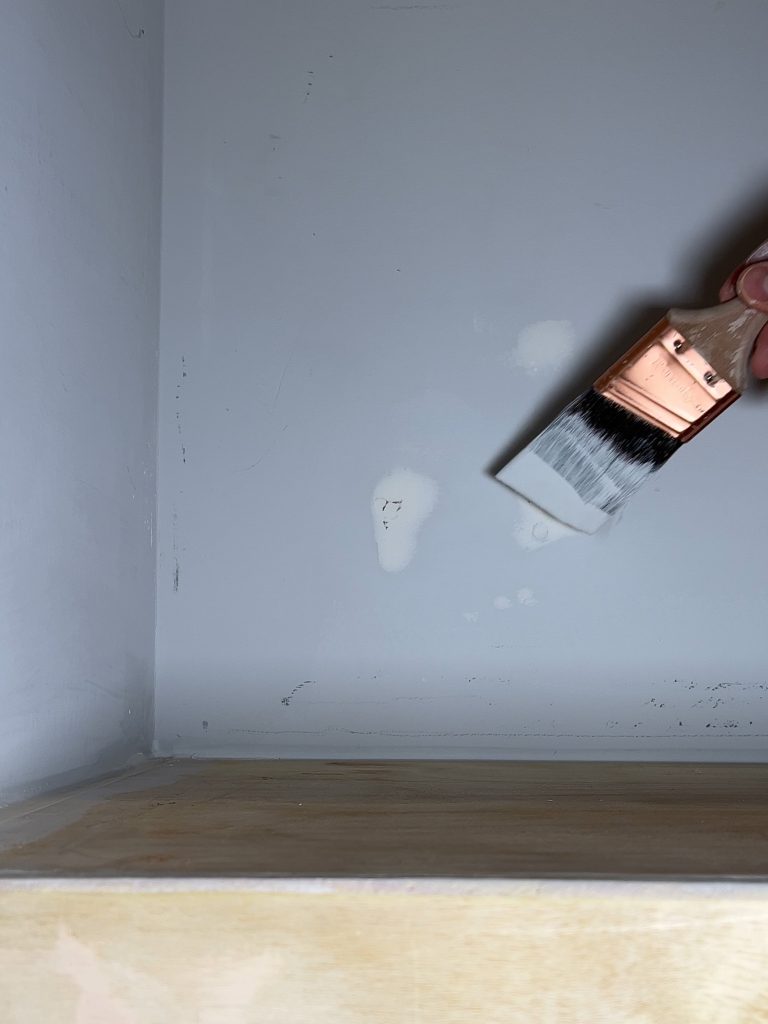
The first step was simple – demolition. I started by removing the wire shelving and vertical support posts. Next, I removed the clips from the wall. They were nailed with those sheetrock anchors that spread out once the nail is inserted. Removing them left pretty big holes in the sheetrock, so that required a good bit of patchwork, sanding, and painting.
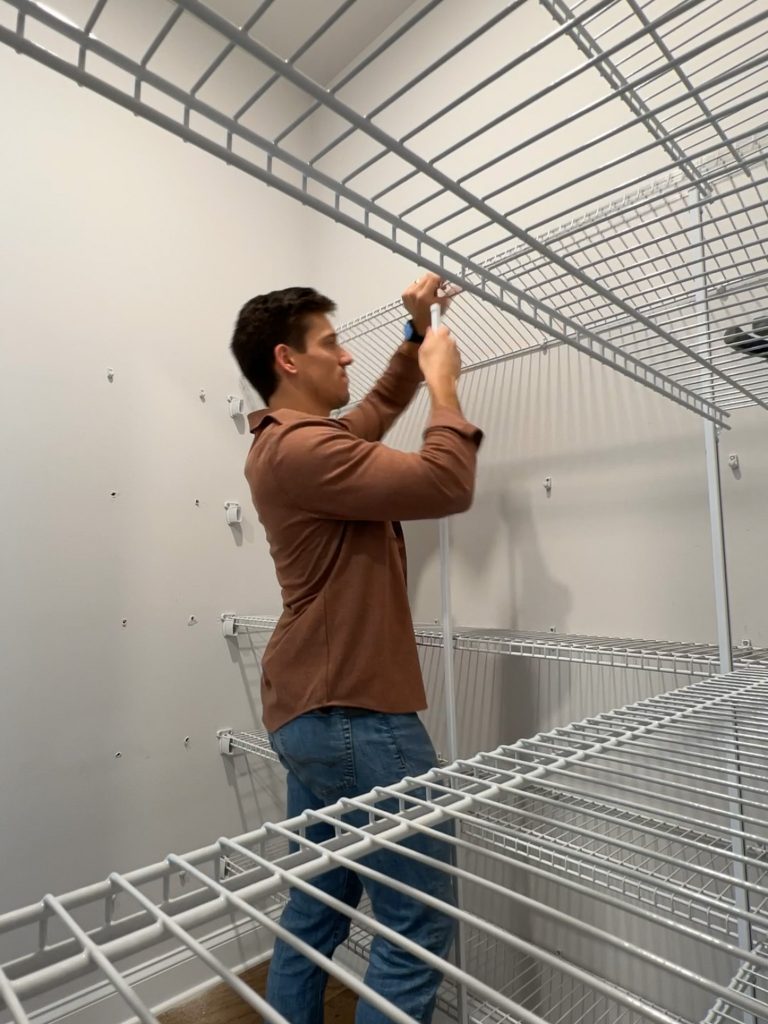
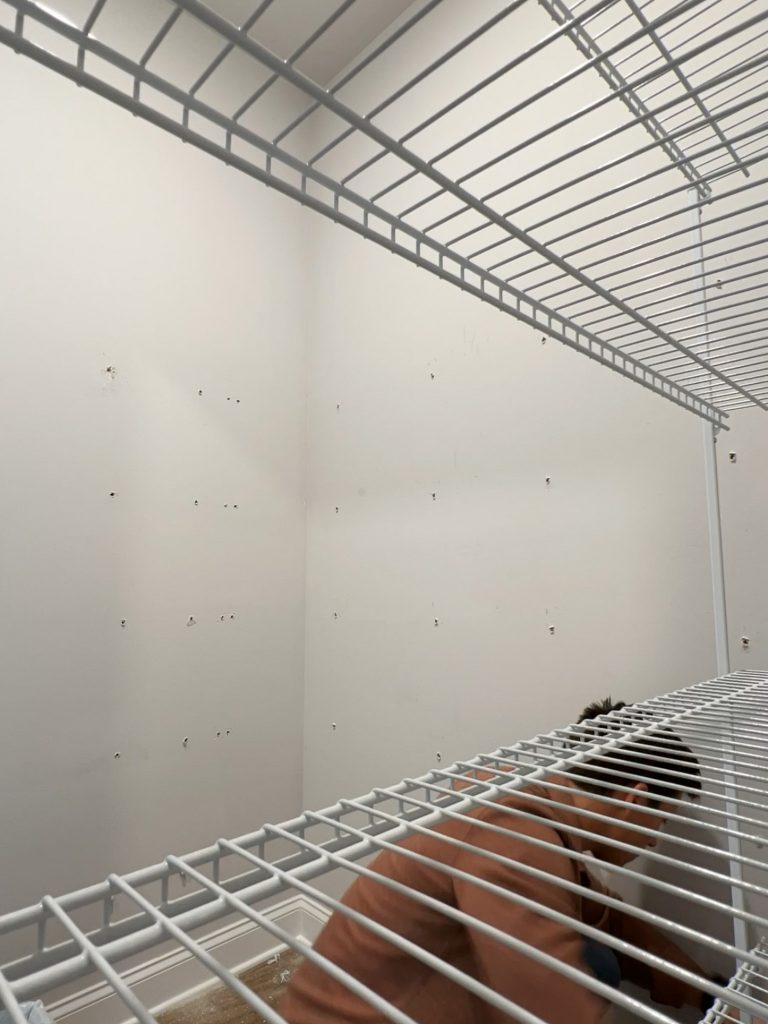
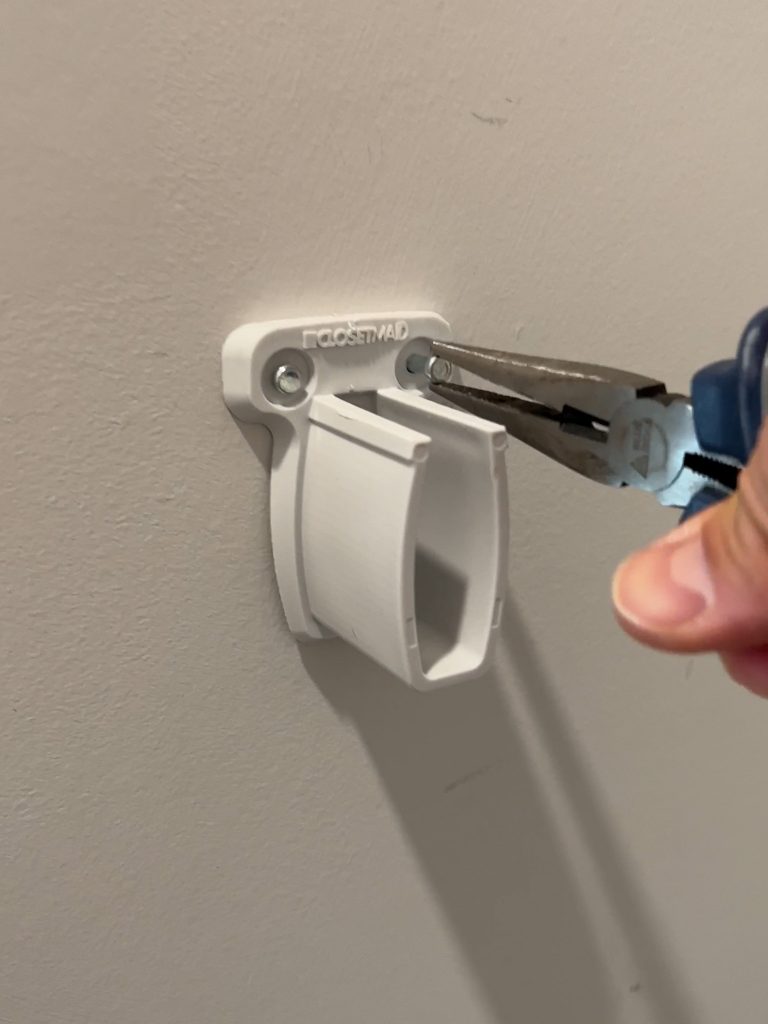
Building the Frames
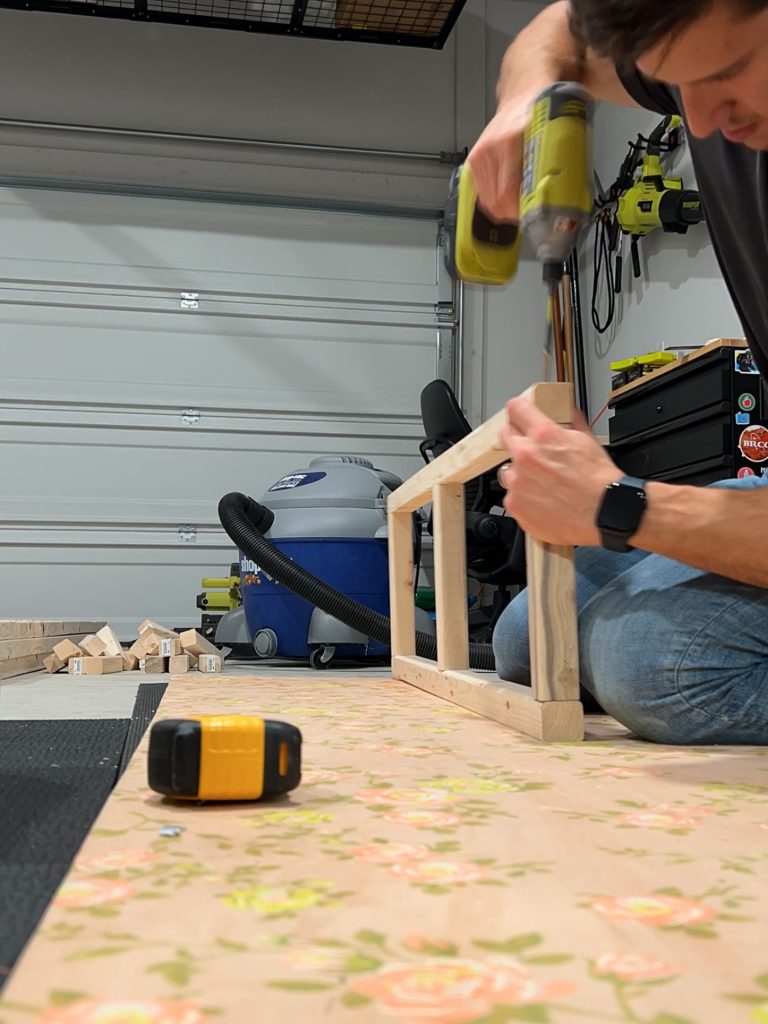
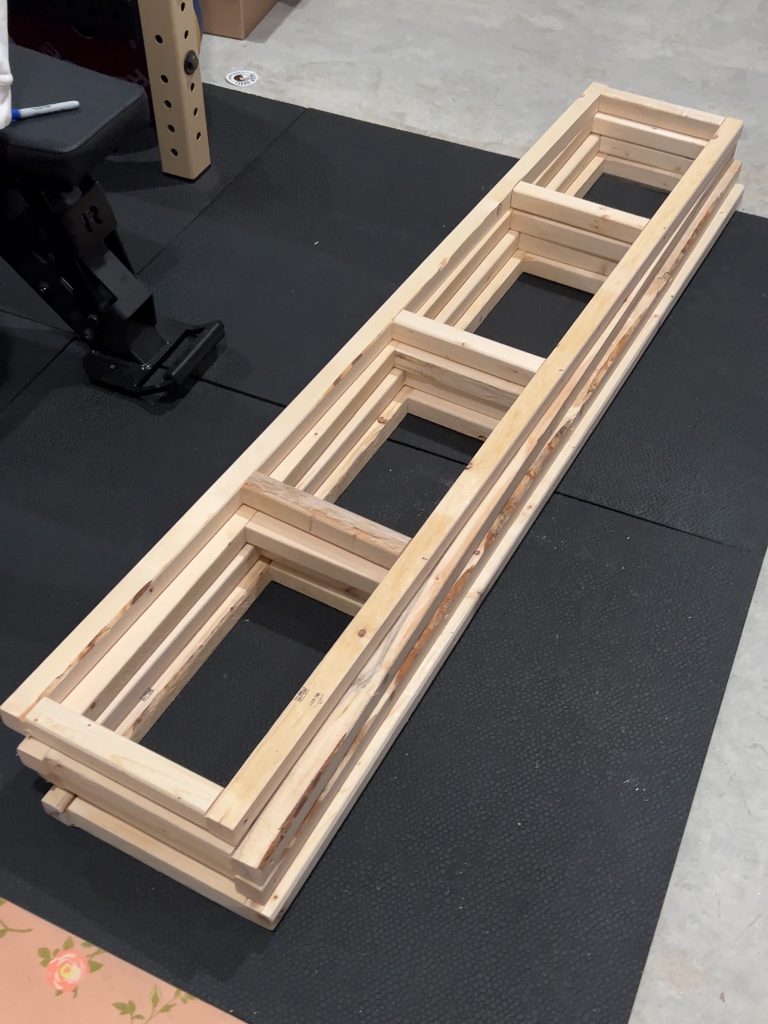
Next I built the frames – the initial idea was to build frames that would be screwed into the studs. This would create a floating shelve look once we added plywood to the front, top, and bottom of the frames. I chose to add additional support once everything was installed, which I’ll discuss later.
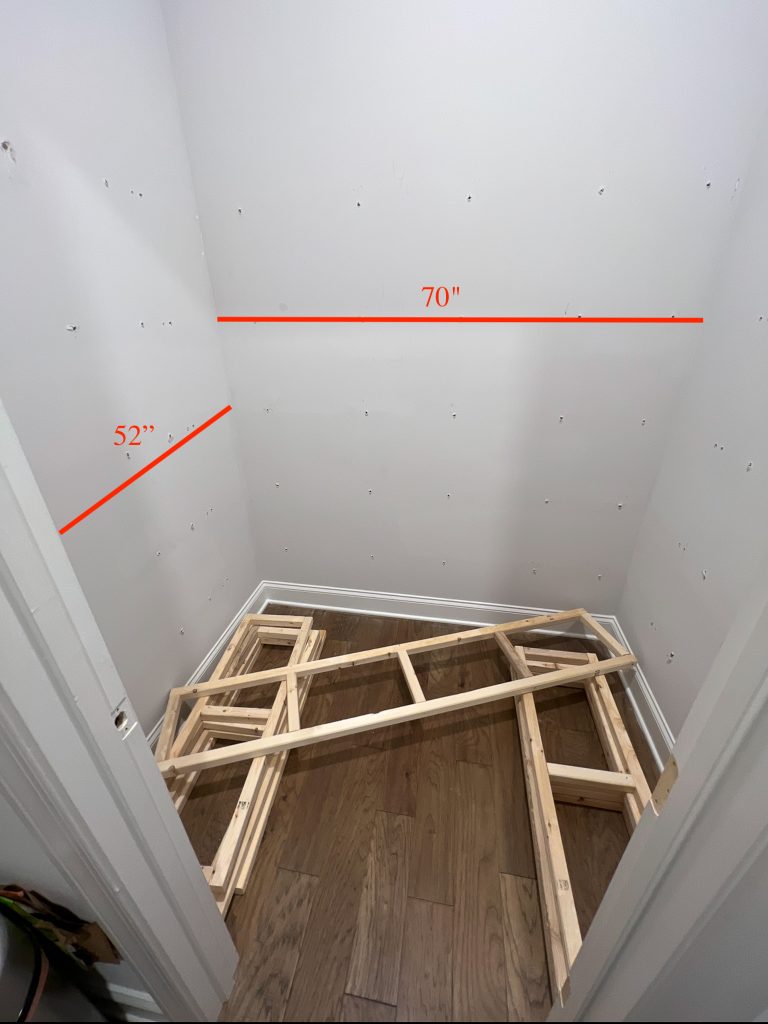
The pantry measures 70″ wide x 52″ deep. The shelves have a depth of 12″, so I built frames for the back wall that measured 70″ in length, and frames for the sides that measured 40″ (52″ minus the 12″ depth of the frames on the back wall).
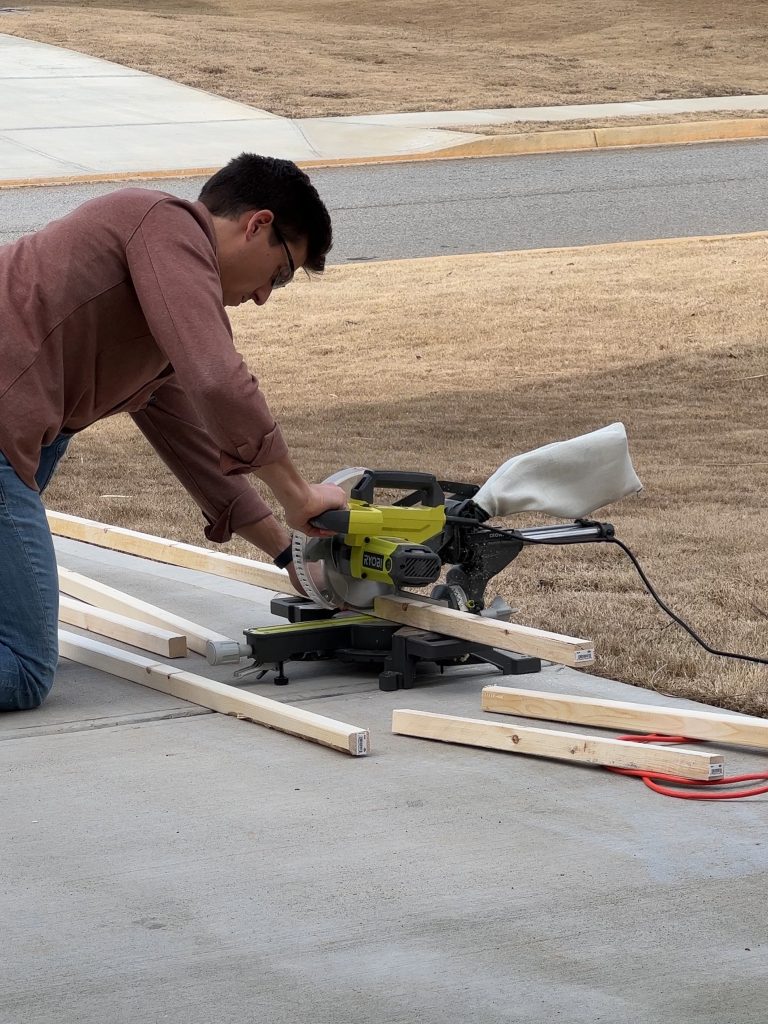
I made the frames out of basic 2″ x 2″ (1.5″ x 1.5″ common) lumber. I added cross supports within the frame, so the end result was a rectangle with intersecting support on the inside.
Installing the Frames
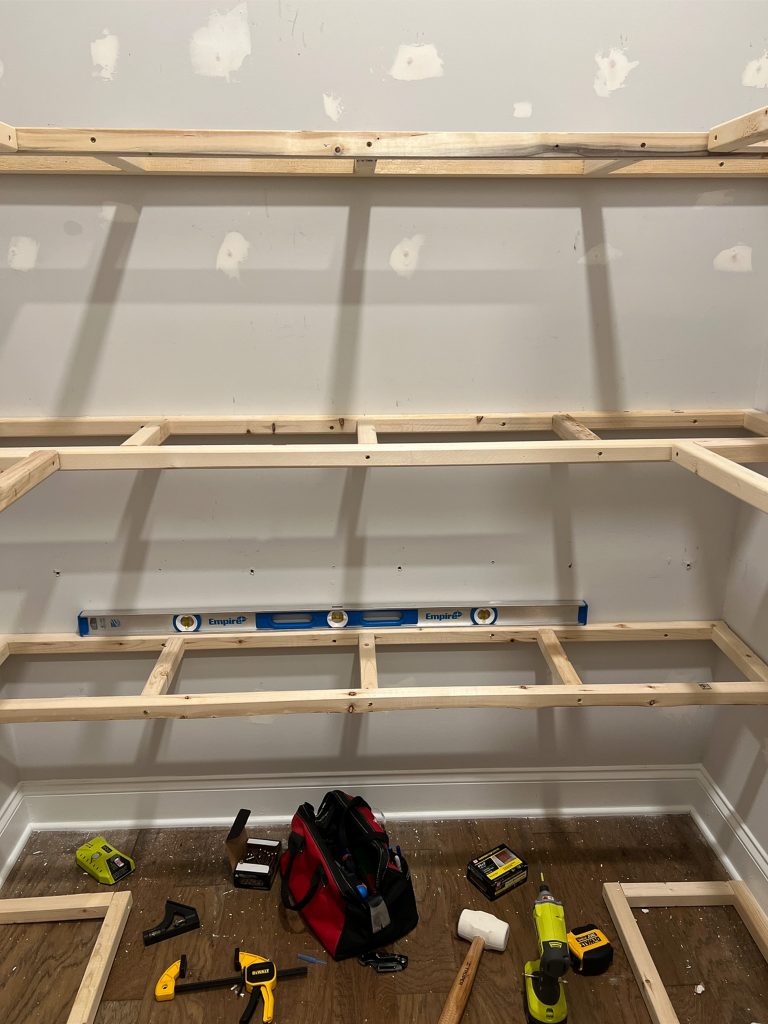
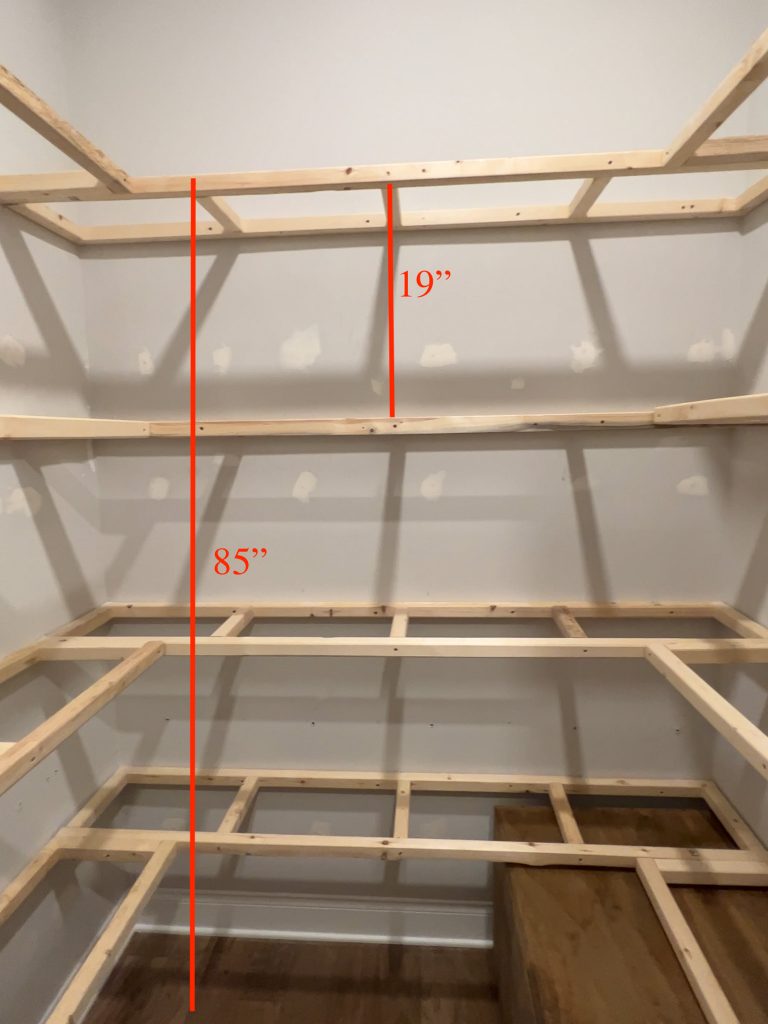
Once the frames were built, I secured them to the wall by screwing them into the studs. We chose to leave 19″ of space between each shelf frame when measuring top to bottom. After adding in our half inch plywood, this left us with 18″ of clearance on each shelf.
This is important: make sure you take the shelf spacing into account! You don’t want to finish the project just to find out your tall canister of oatmeal can’t fit between the shelves. After securing the first two frames to the studs, we tested a few common pantry items (oatmeal, oils, etc.) and decided to space them out a bit more that we initially expected. The images below are taken on a .5 iPhone lens, so the ratios look a bit off, but they should help you visualize the size and spacing of the shelves.
Frames to Shelves
Once the frames were in, it was time to build the top, bottom, and front facade for the shelves. This was the fun part, because the shelves really took shape and started to look like a custom install!
The back wall plywood measured 70″ x 12″ for the top and bottom. The side wall plywood measured 40″ x 12″ for the top and bottom. The faces of the shelves would be 2.5″ tall: 1.5″ frame plus .5″ for the top and bottom plywood.
*One note before we move on: If you plan to do this yourself, don’t let these numbers and measurements scare you! I had no idea where to start with this. I just took it one step at a time, with a general idea of where I wanted to end up. If you mess up along the way (I did plenty!), just pivot and make it work! Think of it as Bob Rossing your pantry… That’s a thing, right?
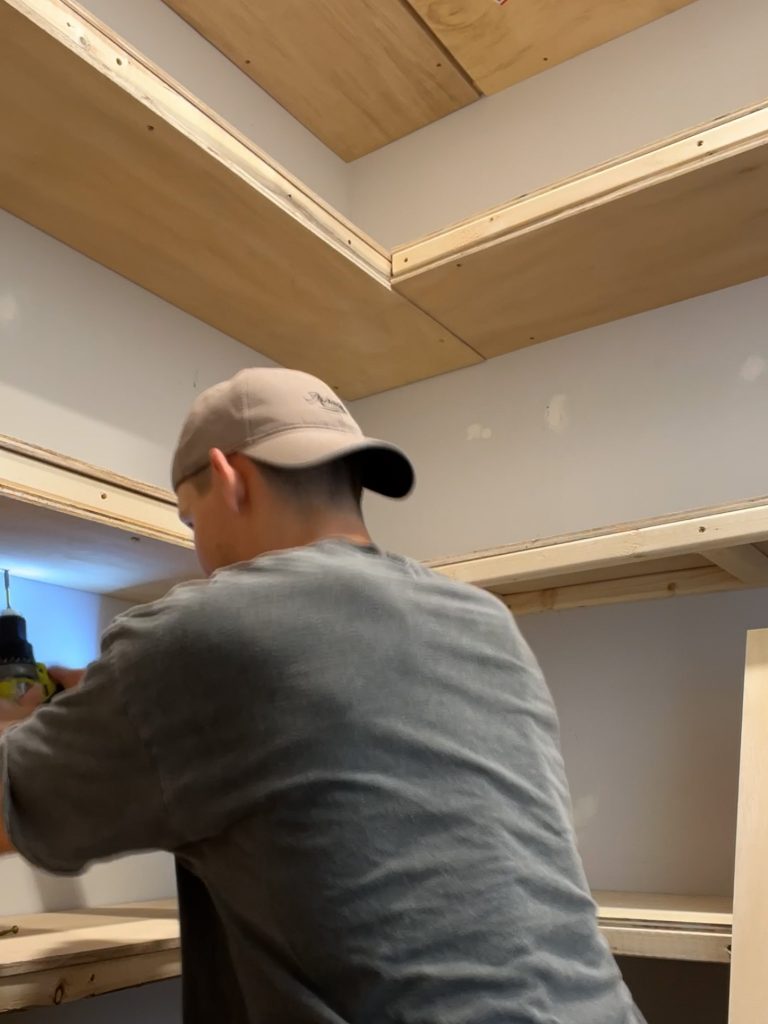
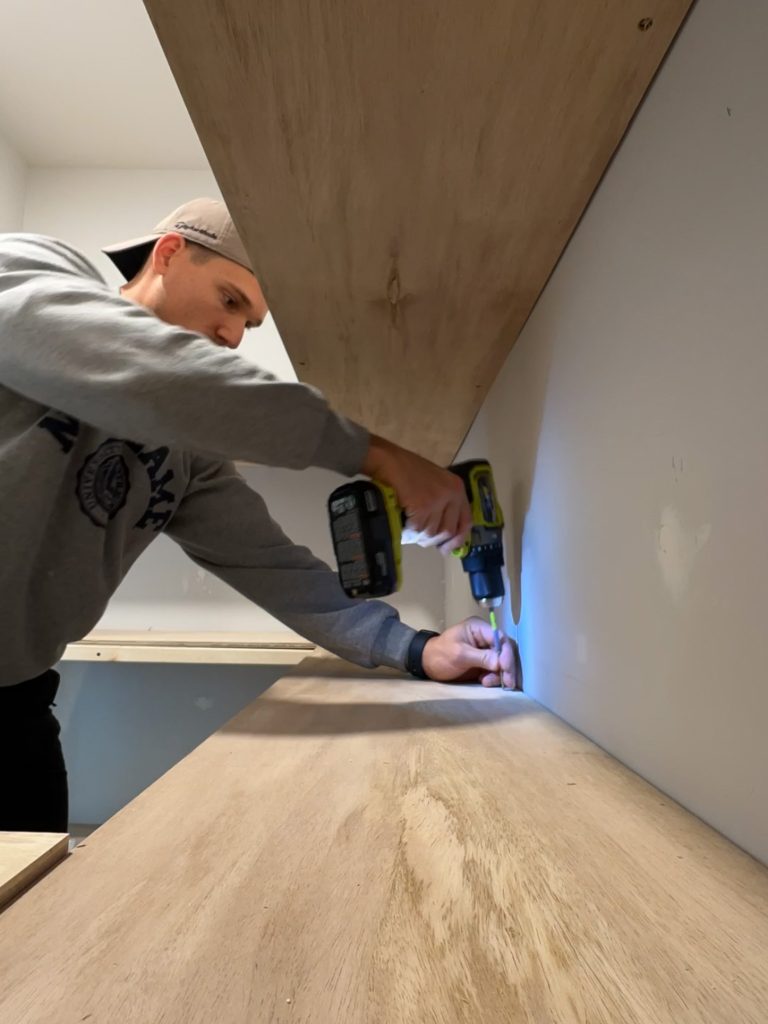
Once the plywood was installed, the patchwork started. Lots of spackle, wood filler, and caulk. Then sanding until I wanted to quit the project all together. Just kidding. But sanding was very important, because it has a big impact on the overall look and feel of the shelves.
The Game Changer
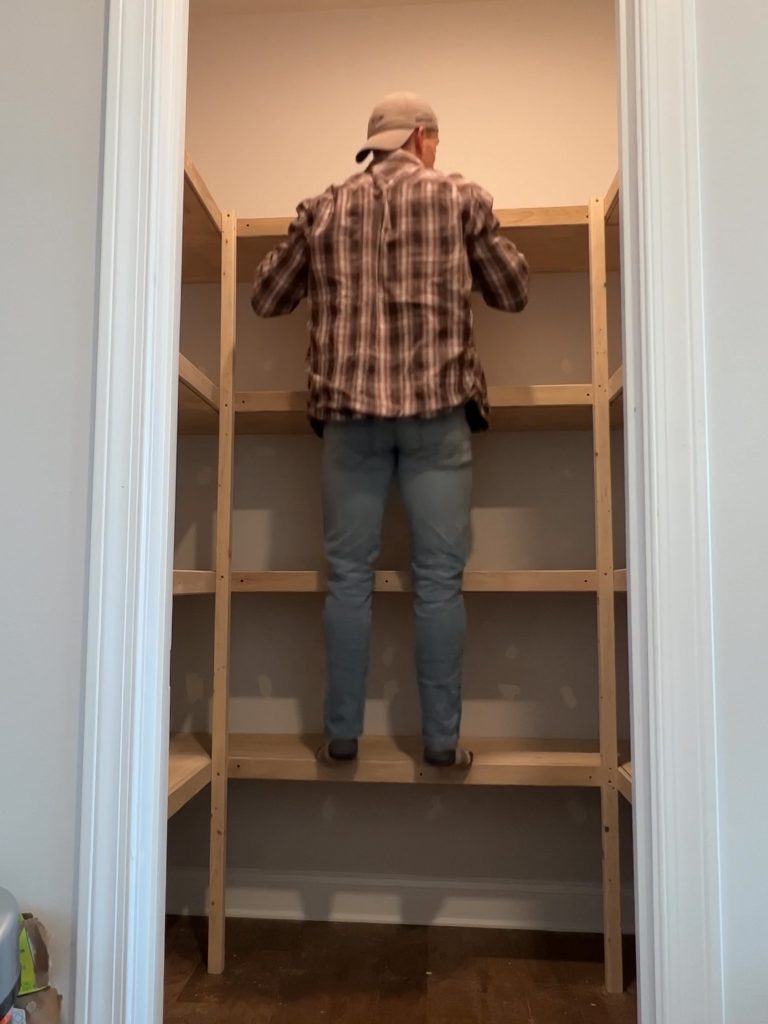
You can see from the images below that I added vertical supports in the corners. This helped accomplish two things: 1) the shelves are much sturdier, and 2) they shelves are anchored in a fixed level position from front to back.
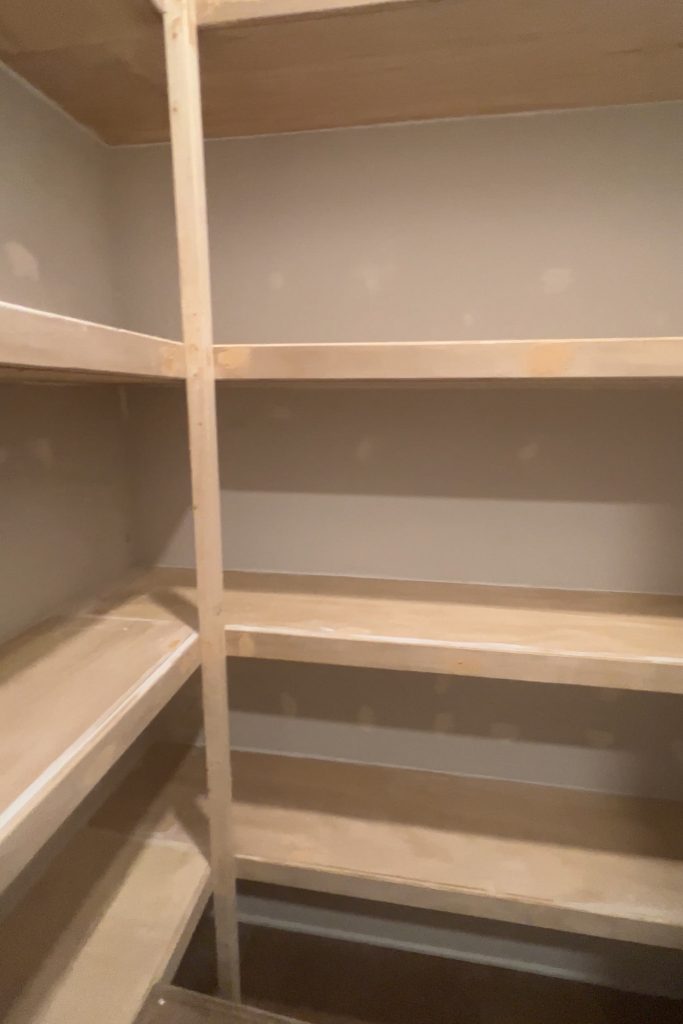
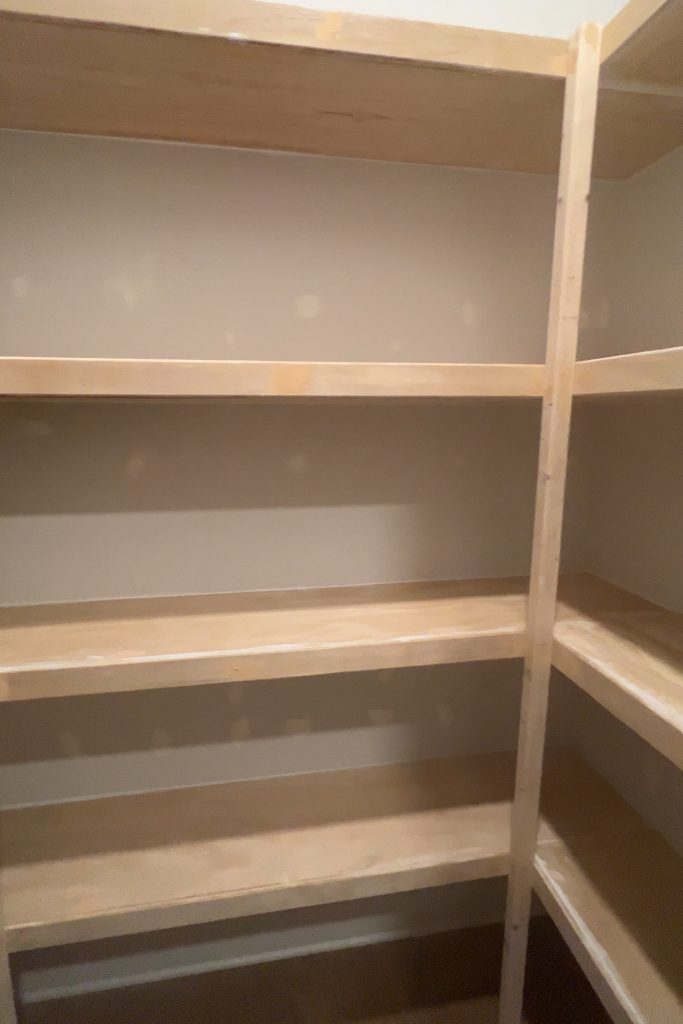
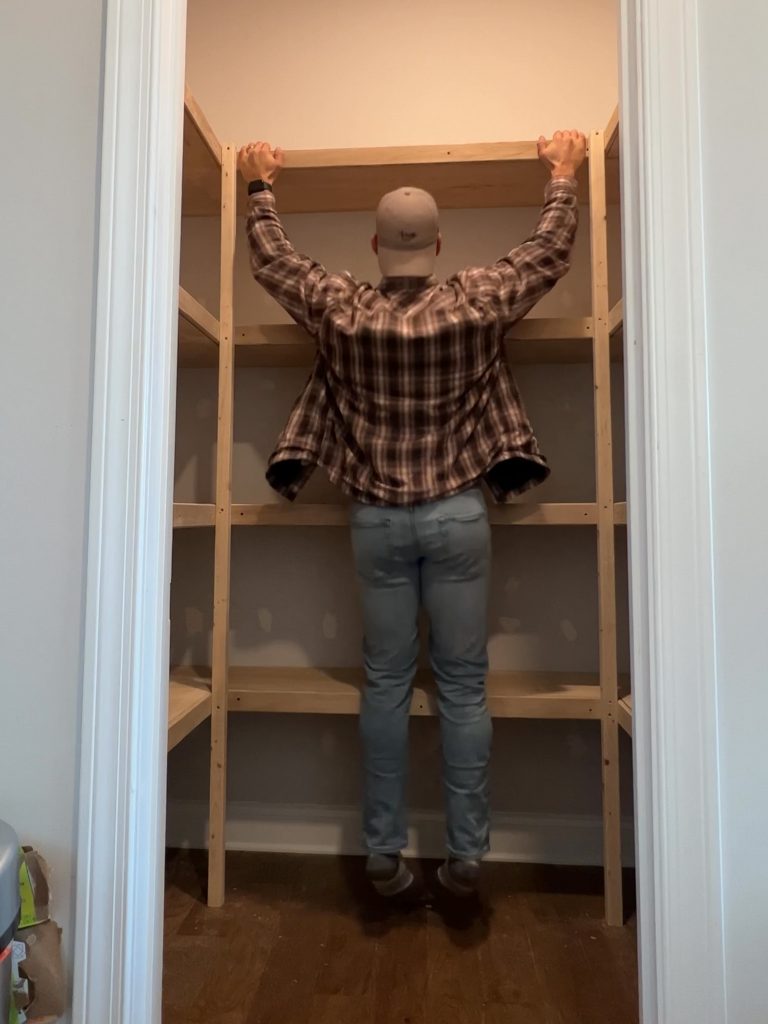
The added support was so significant, the shelves can easily support my weight. These images below are screenshots from a video, and in the second image I was jumping on the bottom shelf! Unless you are set on a floating shelf look, I highly recommend adding in the vertical supports. We like the look of them better too!
Painting
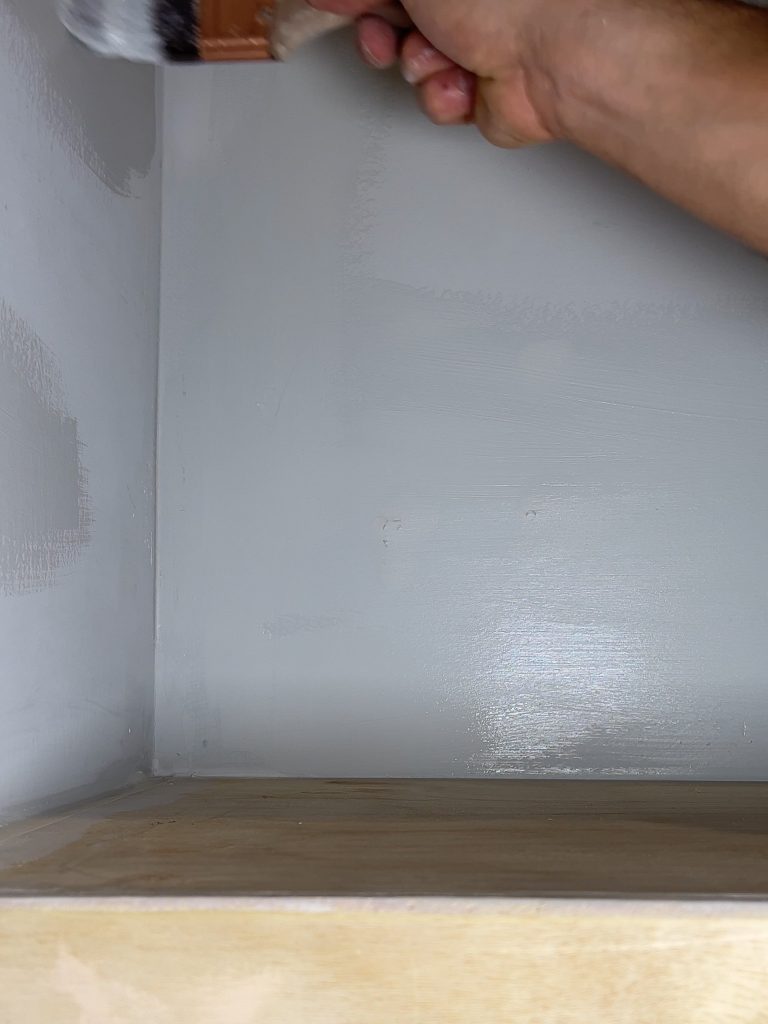
Final steps involved more sanding, patching, and paint. I used our wall paint to cover the holes from the old shelves, and trim paint for the shelves. In hindsight, I could have chosen a cabinet paint for the shelves, as it may be better long term compared to the trim paint. Trim paint worked just fine for us.
Finished Product
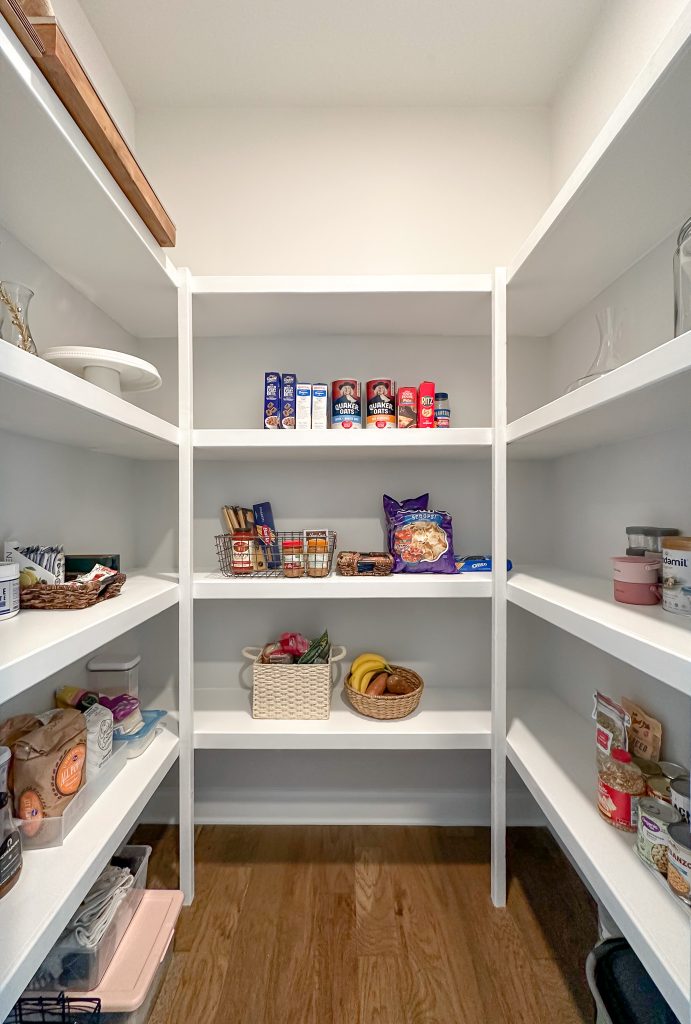
Once the final coat of paint was finished, we just had to let it dry before restocking the pantry! We waited about 24 hours just to be safe. We can’t be happier with the final product!
Drop a comment below to let us know what you think! We’d love to hear about your projects, and any tips or tricks you may have for others who are doing this in their pantry or closet!
PLEASE COMMENT BELOW